
Master the Art of Applying Toes Press-On Nails!
Get ready for an exclusive bonus tip that will take your Press-On nail game to the next level! We're thrilled to share this extra insight on how to apply your Press-On nails perfectly. It’s a little secret we’re revealing just for you!
In this next section, we’ll dive into the step-by-step process that will make your application seamless and effortless. Whether you’re a first-timer or a seasoned pro, these tricks will ensure your nails look stunning every time. Trust us, you won’t want to miss this valuable advice!
So, keep scrolling to uncover the secrets of flawless application!
How to Apply Toes Press-On Nails
Wondering how to easily and quickly apply Press-On nails from the Mix & Match collection? Here are some simple tips to make your nails look fabulous!
-
Prep Your Natural Nails: Before diving into application, it's crucial to prepare your natural nails properly. Make sure your feet are clean and dry—avoid soaking them right before application. Your toes and nails should be free of oils, so it’s essential to dehydrate them. Use your prep kit to gently push back the cuticles, buff the nails to create a smooth surface, and file the nails with the included nail file to even them out. Clean off any debris using the provided stick, if necessary. Finally, use an alcohol pad to thoroughly degrease your nails.
-
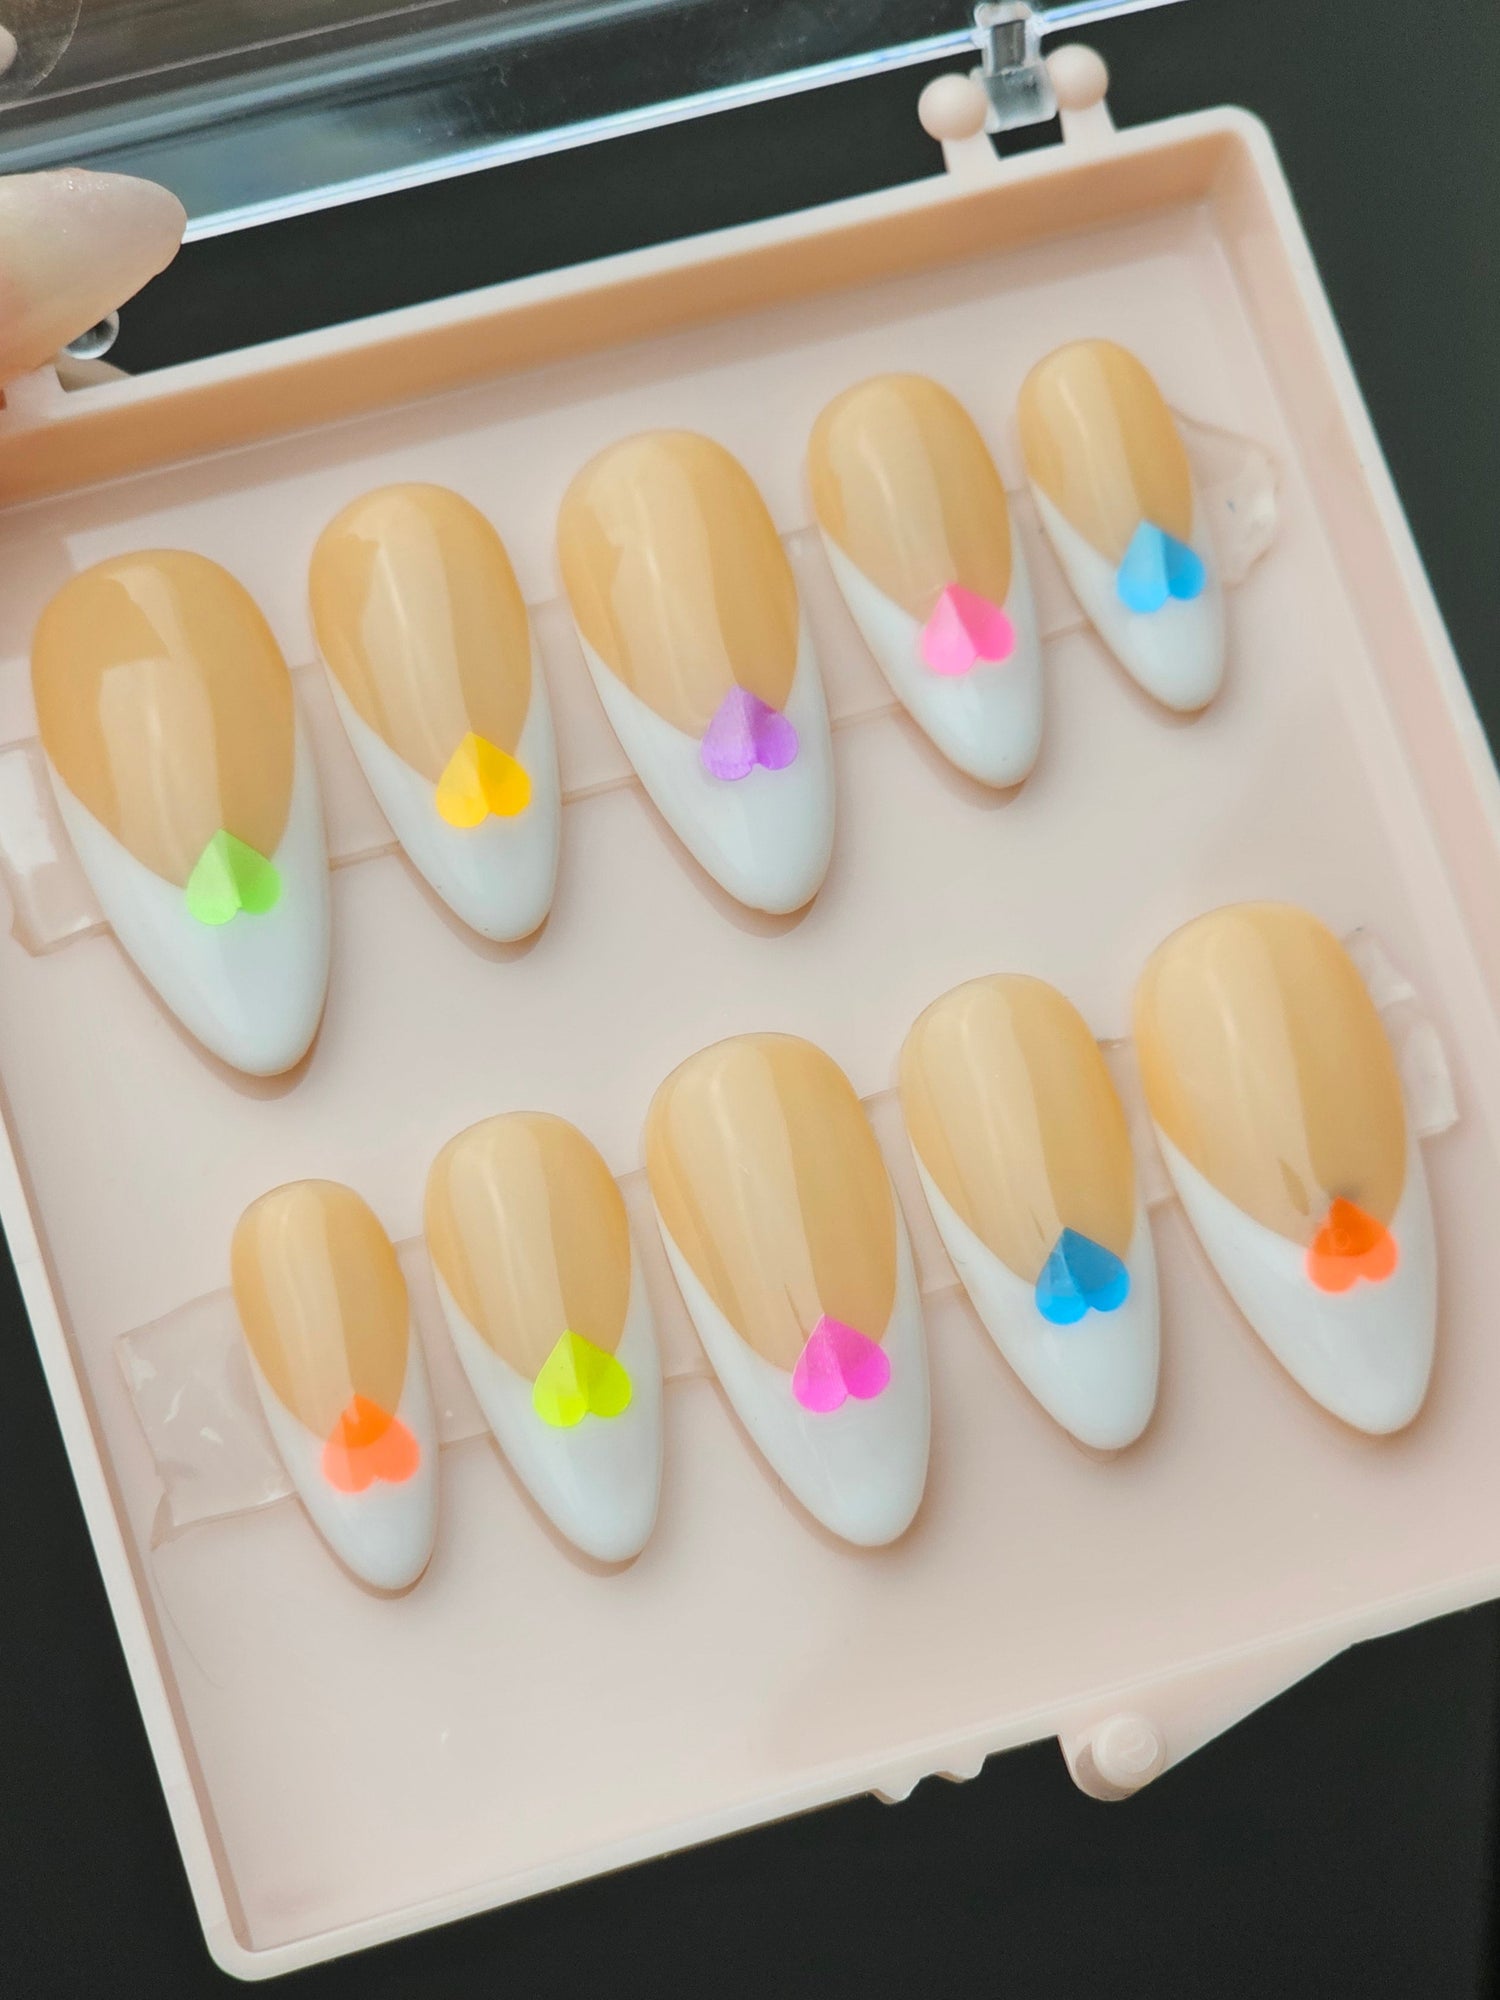
Choose Your Nails: Start by selecting the perfect Press-On nails from the box for each finger and toe. With the Mix & Match collection, you have complete freedom to choose colors and designs that perfectly complement both your hands and feet.
-
Application Method: Now it’s time to apply! You can use either glue or Adhesive Tape (you can also combine both methods). If you’re using glue, apply it evenly inside the nail.
-
Positioning the Nail: At a 45-degree angle, starting from the cuticle area, place the nail over your natural nail. Press it down straight and evenly. Hold it for 15 seconds to ensure it adheres well.
-
Repeat the Process: Repeat this process for each nail on your toes to achieve a flawless look!
-
Remove the Tabs: Once all the nails are applied, break off any excess tabs that act as handles.
- Get Your Prep Kit Ready: Open again the Prep Kit that you received with your order. Now you can file the tips to your desired shape or simply file down the ends from the handles.
Finally, it’s important to highlight how essential these handles are. They are not only practical but absolutely necessary since the nails are quite small, making them tricky to hold and apply. With these handles, the application process becomes quick and easy, and you can simply remove them once done.
Remember, the quality of Press-On nails from Nail Room Studio is top-notch! Made from acrylic and gel, they are hard and durable, ensuring a long-lasting effect. Try them out and see how easily you can change your look!